Roasted Butternut Squash Pie
This post may contain affiliate links. Please read my disclosure policy.
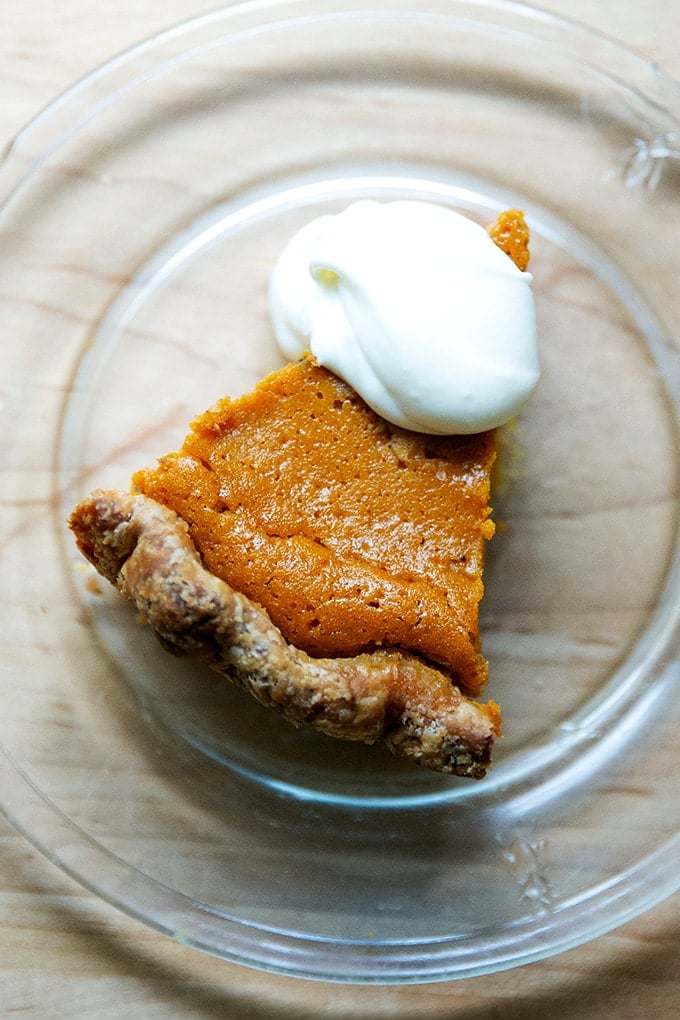
In the notes to Ronnie Hollingsworth’s Most Excellent Squash Pie recipe in The Dirty Life, Kristin Kimball writes:
“Pumpkin shmumpkin, winter squash has more flavor and better texture.”
So true. I have been making this squash pie with butternut squash for the past five Thanksgivings, and it always receives rave reviews.
Are you skeptical about switching up your pumpkin pie routine?
Consider this: Would you agree butternut squash makes the silkiest soup and the creamiest pasta sauce? For these same reasons, it makes the most custardy “pumpkin” pie.
Don’t let the work of roasting a butternut squash deter you. Can I say it? It’s easy as pie! How many times do you roast a squash over the course of a winter? You can do it in your sleep.
I promise you: If you forget the pumpkin this year, you won’t be disappointed.
PS: Thanksgiving
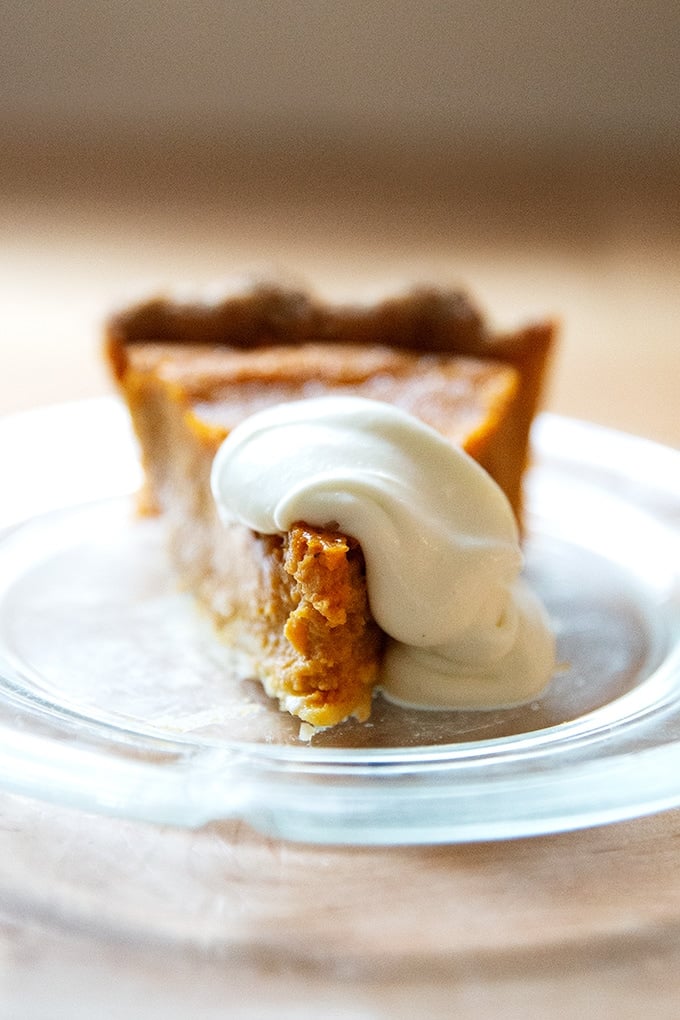
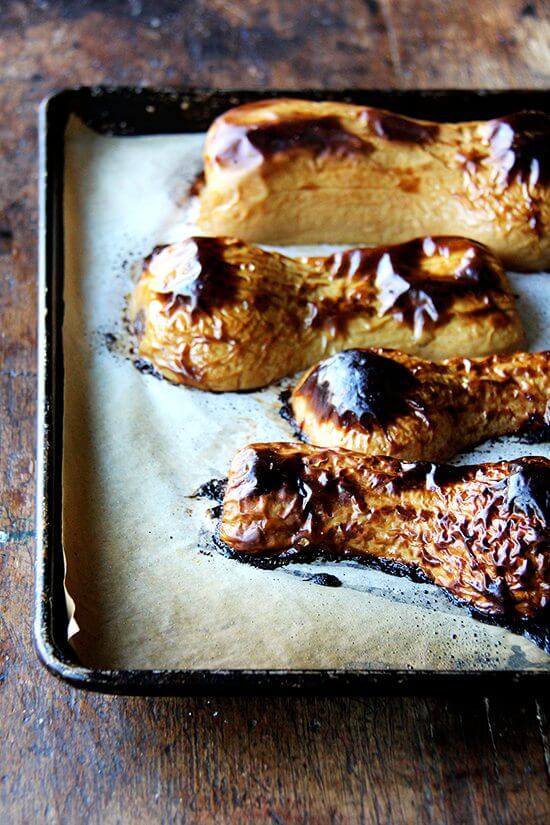
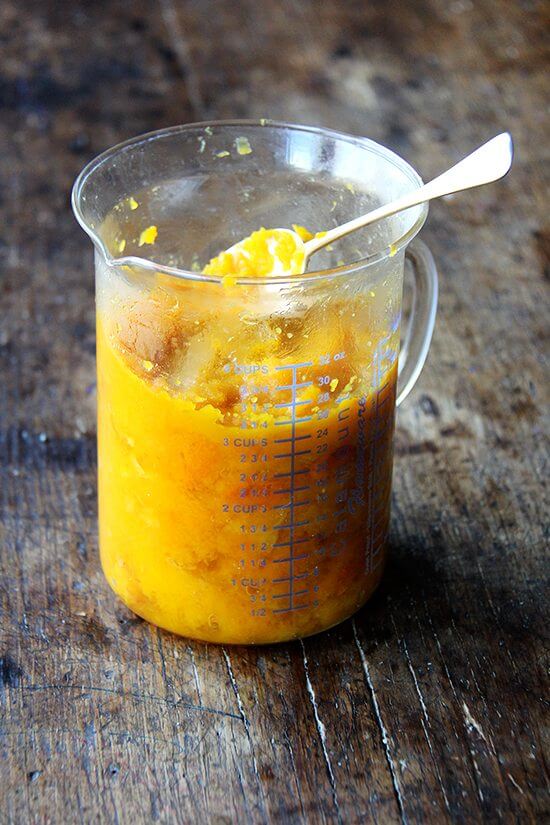
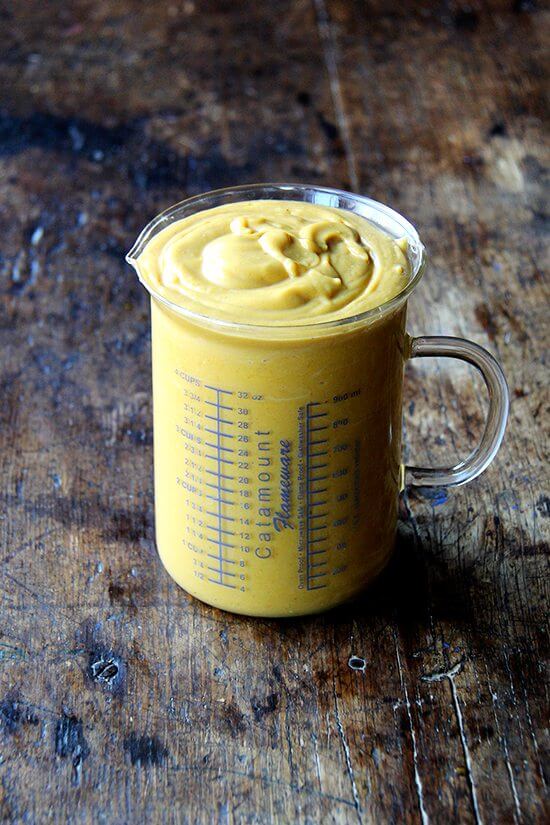
One 2 lb. 10oz butternut squash yields about 3 cups purée:
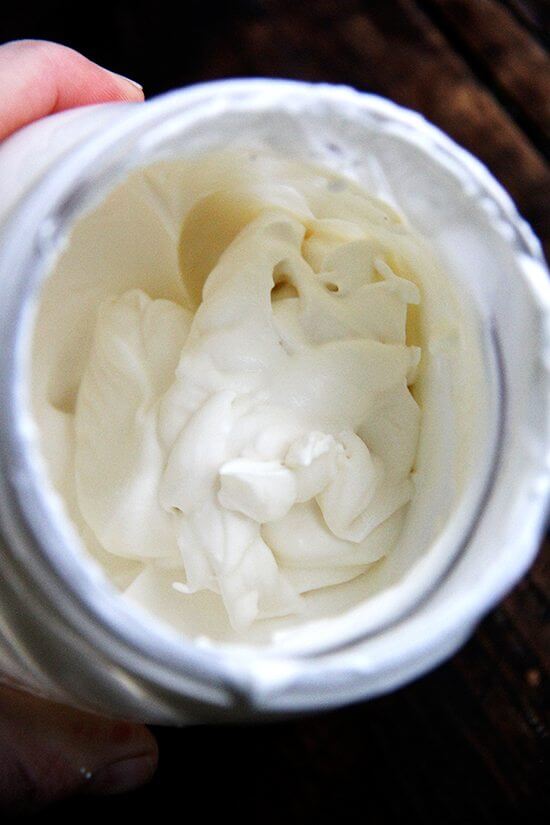
Freshly whipped cream: If, and only if, you have a tiny kitchen lacking a blender or food processor, know that you can make whipped cream using a mason jar. I saw a little recipe in the back of the latest Saveur that called for a 15-minute freezing of a 1-qt mason jar filled with 1 cup of heavy cream, two tablespoons confectioners sugar, and 1 teaspoon of vanilla. After the brief freezing, you shake the jar till your arms fall off, and with any luck you will open the jar to find…
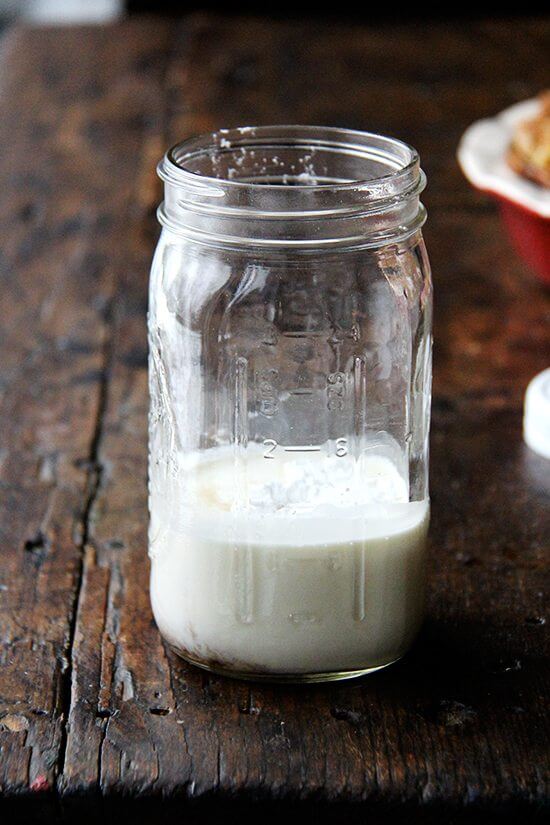
Luscious whipped cream!
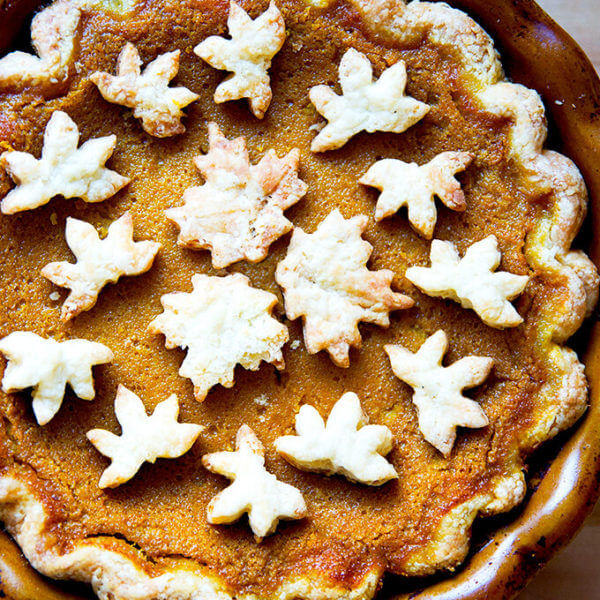
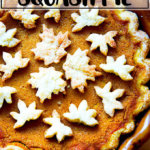
Garnish with pie crust cookies, if you wish!
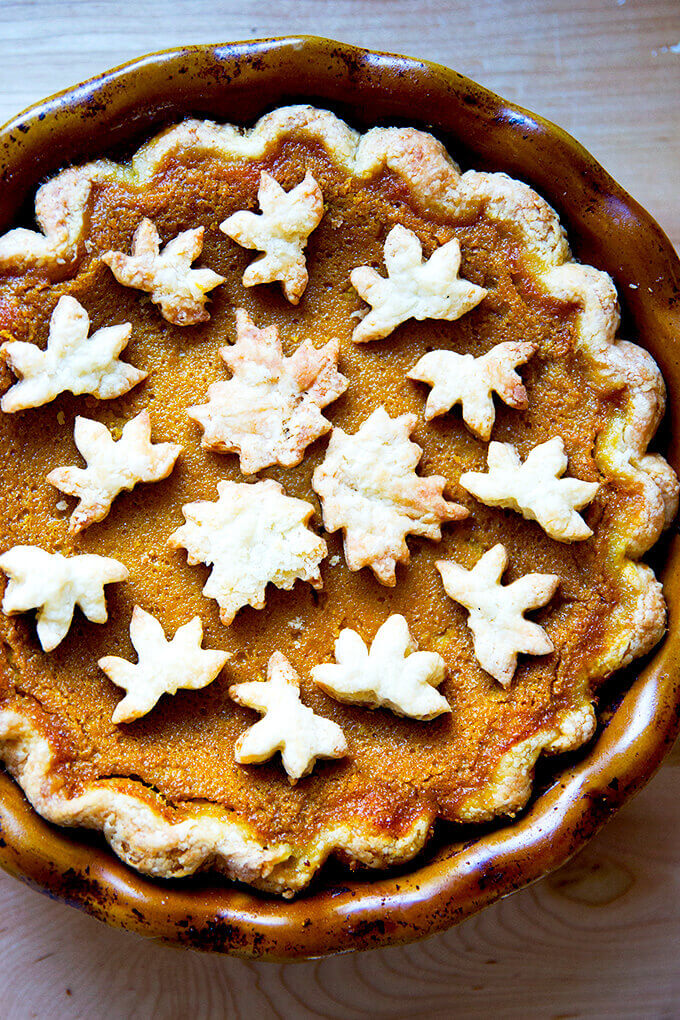
Roasted Butternut Squash Pie
- Total Time: 2 hours 10 minutes
- Yield: Serves 10
Description
Notes:
- Dough yields two 9-inch rounds, enough for 2 single-crust pies/tarts. If you don’t want to make 2 pies, freeze one of the rounds. It will keep for months frozen. Thaw in fridge overnight before using. (Or you could simply halve the recipe.) If you’re looking for another pie to make, here are three ideas:
- For a more visual guide to making the pie dough, rolling it out, and crimping the edges, watch the video below.
- I love my Emile Henry pie plate (similar to this one).
- Also, if you cannot muster the energy to roast a butternut squash — but please please try…you won’t be disappointed — you can use one 15-oz can of pumpkin purée in place of the 2 cups of squash purée.
- To make the pie crust cookies, roll out the pie trimmings, cut into shapes using whatever cutters you have on hand, place on parchment-lined baking sheet, freeze one hour, then bake at 350ºF for 20 to 25 minutes. Arrange on top of the finished pie as you wish.
Ingredients
For the pastry:
- 2½ cups (320 g) all-purpose flour
- 2 tablespoons sugar
- ½ tsp. table salt
- 16 T. (227 g) unsalted butter
- ½ C. + 2 T. (142 g) ice water
For the pie:
- 1 medium butternut squash, about 2.5 lbs or enough to yield 2 cups of purée, see notes above
- 1 1/2 cups heavy cream
- 3 eggs, beaten
- 3/4 cup sugar
- 1 teaspoon cinnamon
- 1/2 teaspoon ginger
- 1/2 teaspoon salt
- 1/2 teaspoon freshly ground or powdered nutmeg
- 1/8 teaspoon ground cloves (I omit)
For the whipped cream:
- 1 cup heavy cream
- confectioners’ sugar
- flaky sea salt, such as Maldon
Instructions
Make the pie dough:
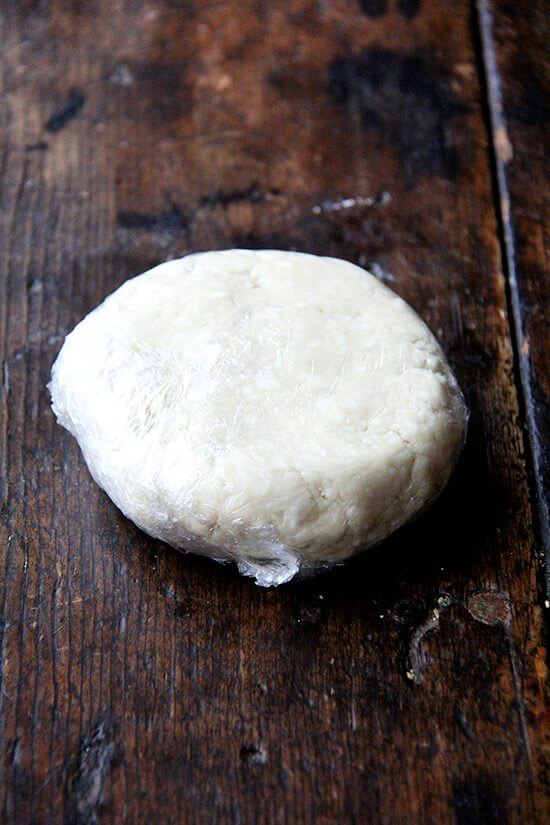
- In the bowl of a food processor, pulse the flour, sugar, and salt together. Cut the butter into small pieces, then add to the food processor. Pulse at 1-second intervals until butter is the size of peas—should be about 10 quick pulses. Add the ice water and pulse again about 10 times until the mixture is crumbly but holds together when pinched. Lay two clean tea towels on a work surface. Dump the crumbly dough mixture into the center of each towel. Working with one towel at a time, grab the four corners of the towel together and twist to create a beggar’s purse, pressing the dough into a round. Use your hands to pack and flatten the round. If time permits, chill the dough for 30-60 minutes before proceeding.
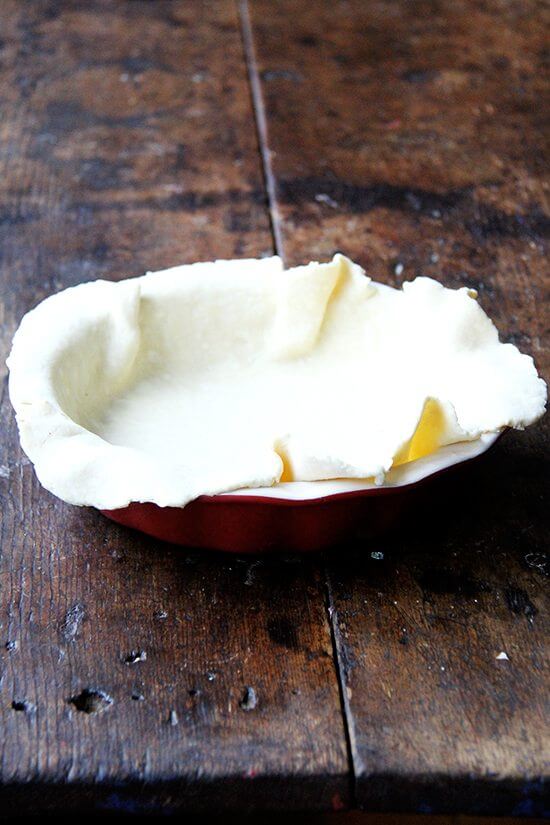
- On a lightly floured work surface, roll out the dough into a 12- or 13-inch round. Use as much flour as needed to prevent the dough from sticking, and every few rolls, flip the dough over. Transfer it to a 9-inch pie plate or pan. Trim dough that hangs over by a lot — leave at least an inch over hanging; you may not need to trim everywhere. Tuck the overhanging edges under, between the rim of the pie plate and the dough, and crimp the edge of the dough. If time permits, chill the dough in the fridge until firm, about 30 minutes.
Parbake the dough (Optional):
Note: this is new guidance. If you’ve had success not parbaking with this recipe, you can skip this step. I have in fact had succes not parbaking here, but I do think parbaking makes a superior crust.
- Heat your oven to 425ºF. If you have a Baking Steel or pizza stone, place it on a rack in the lower third of your oven. On a lightly floured work surface, roll out one of the chilled rounds of pie dough, flipping the round over every few strokes, until you have a circle roughly 15 inches in diameter — the thickness should be about that of a Ritz cracker — learned this visual tip from King Arthur Flour.
- Transfer the round to a pie plate. Trim any excessive overhanging pie dough — there should be roughly 1/2 inch of dough overhanging the edge. Save the scraps in an airtight container in the fridge. Tuck the overhanging dough behind itself; then use your fingers to crimp the edge into a fluted pattern — video guidance here. Lay a sheet of parchment across the pie plate and pour pie weights or dried beans into the center until they reach the top of the pie crust. Use your hands to press the weights down and fit them into the edges of the fluted crust.
- Transfer the filled pie crust to a parchment-lined sheet pan and transfer to the oven for 15-20 minutes or until the edges are just beginning to color — do rely on the visual cues here. It sometimes takes my crusts a little longer to take on that light color at the edges.
- Remove the pan from the oven and carefully remove the pie weights or dried beans (which you can use again and again — let them cool completely; then transfer to a storage bag). Return the pan to the oven for another 2 to 3 minutes — it should take on only the slightest bit of more color all around.
Make the Filling and Bake the Pie:
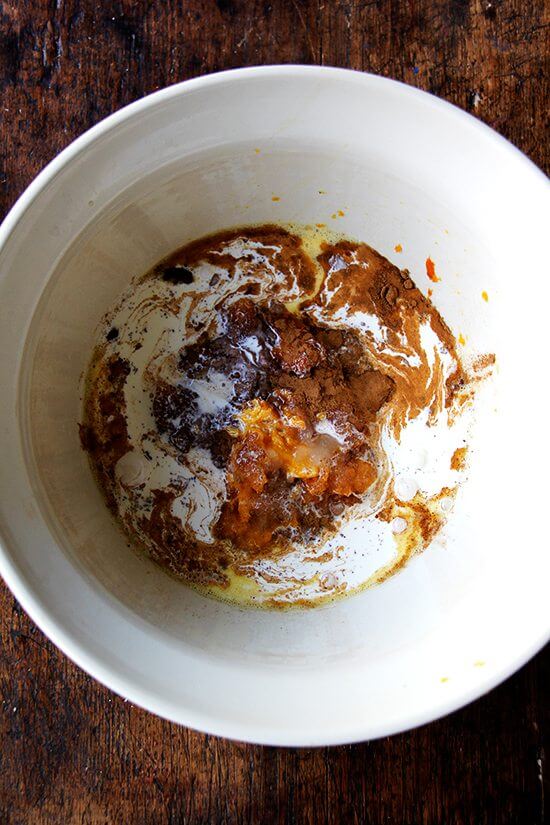
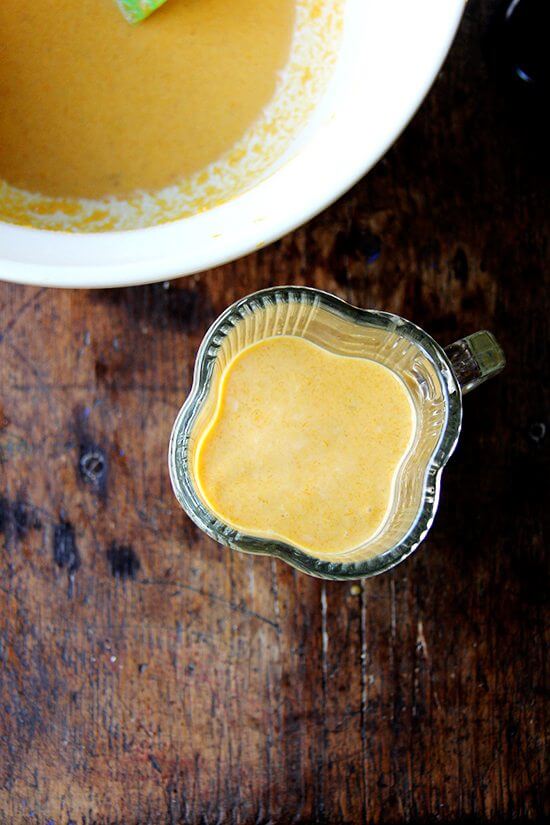
- Halve and clean the butternut squash, rub the flesh lightly with olive oil, and bake at 400ºF on a parchment-lined baking sheet, until very soft, about an hour (but start checking after 45 minutes). When cool enough to handle, scoop out the flesh, transfer to a food processor and puree until smooth. Measure out 2 cups. It a large bowl, whisk together the eggs, cream, salt, sugar and spices. Whisk in the squash.
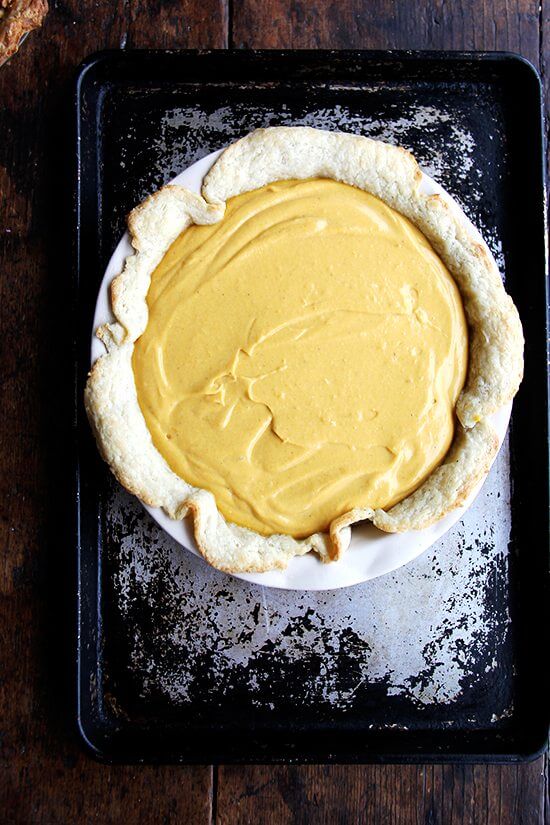
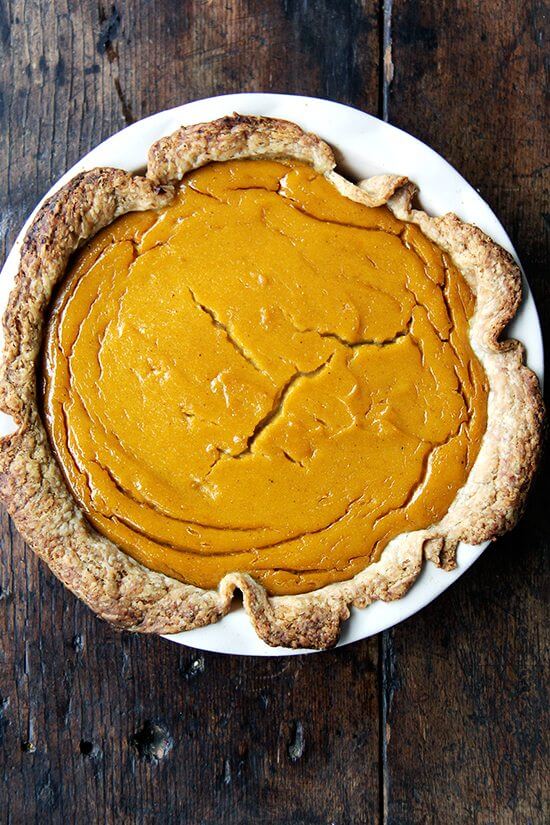
- Add squash mixture to pie shell and bake at 350ºF for 55 to 65 minutes, depending on your oven and how much squash purée you ended up using, until the center is barely set. Let cool completely before serving.
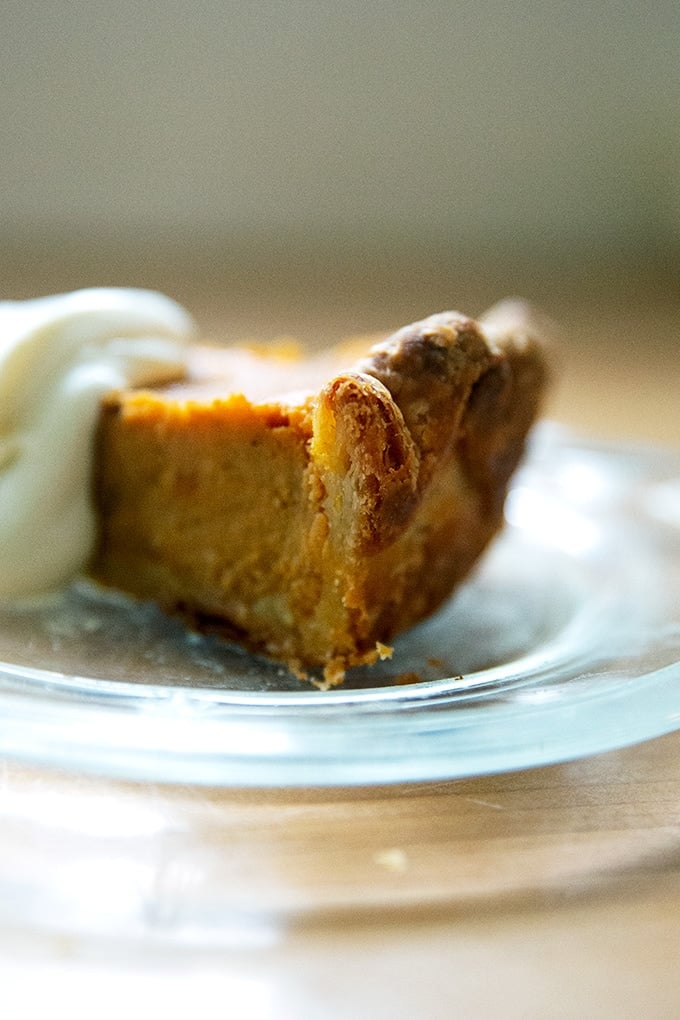
- To make the salted whipped cream: Whip heavy cream in the bowl of a stand mixer until soft peaks begin to form. (You can do this by hand, too, with a bowl and whisk.) Add confectioner’s sugar — start with 1/4 cup and add more to taste. Add a big pinch of sea salt and beat to combine and until the peaks begin getting firmer. Taste — the mixture should be slightly sweet and the salt should be noticeable, though the whipped cream should not taste salty.
- Prep Time: 25 minutes
- Cook Time: 1 hours 45 minutes
- Category: Dessert
- Method: bake
- Cuisine: American
This post may contain affiliate links. Please read my disclosure policy.



68 Comments on “Roasted Butternut Squash Pie”
I hate when people do this but…I love that 4-cup measuring cup. Where is it from?
Sara, this is one of my favorite kitchen gadgets! It’s a Catamount Flameware measuring cup. Here it is on Amazon. I’ve written about it various places on the blog, like here, but you can place it directly on a burner — isn’t that amazing?
Awesome, thank you! Just added it to my wish list.
Alexandria, I made this pie for Thanksgiving. Everyone said it needed more sugar.
Well, I liked it. Trying to lessen the amount of sugar I eat.I guess everyone is used to eating food lots more sugar.
I love all these variations on pumpkin pie! I also just roasted all the gourds I had at home, and now have acorn butternut pumpkin delicata puree all up in my freezer. Beautiful pie, all those crackles in the top make it look so tasty!
What a treat! You can have homemade soup at a moment’s notice. Thank you for you kind words.
Love the look of that pie and so true what yoi say about timned fruit. I imagine there will be no going back. That lovely color of the baked squash pie to start with–golden not that dreary dull pumpkin color.
I don’t think I can, at least not for pie 🙂
Hi Ali!! random thanksgiving q–would you use the peasant bread recipe to make stuffing?
Hi Rebecca!
OK, I don’t know. I feel like I tried to use the peasant bread for bread pudding once, and I wasn’t that happy with it, but I might not have dried it out enough. I hate to discourage you from using it — would make me so happy! — but I also don’t want to lead you astray. I have a friend who uses it for the Zuni Cafe bread salad recipe, but that’s a little different. I think if you use it, you just have to be sure that it is really dried out. Wish I could give you a better answer!
hmmm..i might hold off..its just so easy and sooo good!! its for a stuffing recipe using brioche or challah.
I know, it is, and I wish by now I had mastered recipes for stuffing, bread pudding, French toast, etc. using the peasant bread…one day I’ll get there. I have a stuffing recipe from Food52 made with challah that I am seriously contemplating for next week. If I make a stuffing with the peasant bread, I will be sure to report back!
I’ve roasted my own pumpkin once. It was fine, but not better than canned and therefore not worth the effort. Love the idea of a beautiful butternut squash in a pie!
Thank you Tracy!
I so love this pie and love even more that you made it! I’m making one for Thanksgiving…..man, did this year go by fast! <3 XO!
Seriously, how does it happen?! So excited to introduce my family to this pie next Thursday!
Awesome jarred-whipped cream trick! Just in case like, the power goes out 🙂 Oh my gosh — last night I was making a lasagna dinner for 7 (to be served tonight) and I heard a POP, and my front-right burner, the one I use most often, blew out. I hope our landlord has some spare time today!! ahhh
LOVE that you used squash in this pie! It looks so wonderful. And doesn’t really seem like much extra work, not for the payoff, anyway 🙂 Happy Thanksgiving!
Oh no! That is the worst. Why do these things always happen when you are expecting company? Sophie, I need your lasagna recipe — I signed up for this meal train thing at my kids’ school, and I have like 4 dinners to make this next month, and I always feel like lasagna is the best gift in the world. I will email you. Happy Thanksgiving!!
I love pumpkin pie made with butternut squash! Libby’s, the popular brand for pumpkin, actually uses a variety of pumpkin that is very much like butternut. I wrote a post about this last year if you’re interested: https://alittlesaffron.com/2013/11/20/pumpkin-pie-now-with-butternut/
Happy Thanksgiving!
So interesting Ileana! I am going to read your post immediately. Happy Thanksgiving!
I made it last night… It turned out perfect and everyone liked it, flavor was amazing and it actually looked quite similar to yours (cracks and everything)… THANK YOU!!!
What an excellent way to use up the last of my butternut squash from this year’s garden. The one thing I did not do with this recipe is the heavy cream-to minimize fat content I used evaporated milk (I also think coconut milk would work for a dairy free version) and was still fantastic. Not one piece left for today ;( but I guess that’s a compliment! Will be making this version rather than pumpkin from now on. It is also great in individual ramekins w/out any crust at all-my grandson’s favorite dessert. Bake those about 20 minutes or until just firm.
Thanks for the ramekin tip! Yeah seem to have a lot of leftover filling and those sound perfect!
While I can fully agree that this looks fabulous (and I have in fact made butternut squash pies in the past, just substituting the squash for the pumpkin in my usual recipe), I would like to stand up in defense of using fresh pumpkin. Quite a bit depends on what kind of pumpkin you use. Some friends of mine have a pumpkin patch every fall and I usually get one or two of their “sugar” pumpkins–these are smaller and sweeter than a big jack-o-lantern pumpkin. Also, very easy to cook. Just pierce thoroughly (to avoid explosions), put in a large baking dish, and bake at 350 until totally soft–no need to cut it up beforehand at all. (Which is great, because cutting up raw pumpkin is a pain in the rear.)
When it’s done, it’s super easy to separate the flesh from the rind and the seeds and stringy stuff, and then it’s just a quick whirl in the blender/food processor before it’s ready to use. I had 2 different pies made with sugar pumpkins this Thanksgiving and they were both outstanding.
Hard to believe that it’s almost Thanksgiving again! The year just slips by me faster and faster….It’s beautiful here and I got a new camera a couple of weeks ago and have been having a ball playing with it….I got a Canon Rebel 5….I’m already planning dinner and the tablesetting for Thanksgiving…of course those are the easy, fantasy, parts before the big day arrives and the work starts! Hope you and Ben and all the tykes are doing fabulous! Happy Autumn! I’m making the squash pie this year too, your pictures are making me want it right now! That’s funny, you just liked a pic on Instagram as I was typing……lol…..XXOOXX Laurie
Congrats on the new camera!! Very exciting. And very exciting that it’s almost time for squash pie!! I cannot wait. Hugs to you!!
Great recipe. So, I got condensed milk to make a pumpkin pie. Could I use this in place of the cream in your recipe?
Hi Mary, I worry about the condensed milk — it’s very sweet, and I worry it might make the pie too sweet. But I’m also all for just going for it — what’s the worst that could happen?
This is still my favorite Fall/Thanksgiving dessert! It’s on the menu again this year……I’ve made a garden seating area finally and I’m eating my pie in the garden with some hot cider spiked with something! Tee hee! Happy Thanksging doll! ❤️❤️?❤️❤️
Laurie this sounds like a dream!! Hot cider spiked with something … why have I never done this?! Happy Happy Thanksgiving to you. Sending lots of love.
Thanks for sending the recipe along.
I too have used what ever type of squash or pumpkin I have. Occasionally some are a little watery so after cooking so I let them sit in a colander for a bit to thicken. This will also make a delightful pumpkin/squash cheese cake.
Oooooh! I love this idea for a cheesecake–totally working on this for next Thanksgiving. Thanks for writing in!
Could you make and freeze this pie? Would you freeze it pre or post bake – and how would you reheat/cook it after? Thanks!
Spent today cooking through some of your recipes, this was awesome. Such a more delicate flavor and texture than using canned pumpkin- we’ll definitely be having it for Thanksgiving dessert!
Yay! So happy to hear all of this, Taylor. This is one of my favorite holiday recipes. Never would I have thought to go through the effort of making squash (or pumpkin) purée from scratch, but it’s so worth the effort.
Any thoughts on why the crust ended up chewy? I’ve made this crust before and no problems, one of the differences was that I froze this dough ball and then put it in fridge the day of use…but didn’t end up using it until the next day, so 2 days in the fridge. Could that be the reason? After I took out of fridge i rolled it out right away and then poured the liquid in and baked.
This is def a first to get a chewy pie crust. Still eating it and love the filling, I added just 1/4 cup of sugar and it is still yummy.
Thank you.
Hi Megan,
I’m not sure why this happened … I freeze the dough all the time, let it thaw in the fridge and use it in the days following, so I don’t think that’s the issue.
Did you use any different ingredients? Different flours? Did you use the food processor? If so, did you pulse it longer than usual? By chewy, too, do you mean tough? The tough pie crusts I’ve had in the past have been a result of either using two much flour or kneading too long. Do you use a scale to measure the flour? Did the dough seem dryer than usual?
In terms of not blind baking, you mention you use a ceramic pie dish, what if I use a glass or aluminum dish? Would that change whether I should blind bake or not? TIA!!
Maybe! I do worry about advising against blind baking if the pan is of a different material, bc I would hate for your pie to emerge with a “soggy bottom.” Are you comfortable blind baking? If you are, you can line your pie shell with a sheet of parchment and fill it with beans (or pie weights or other) and bake for 15-20 minutes at 350ºF.
Hi Ali – do you have any recommendations for substituting sweet potato for the squash (only because we grew a ton of sweet potatoes this year and have no more squash)? Maybe sweet potato has less moisture? Thanks! I love your website and blog!
Thanks, Shelley! I think you could definitely use sweet potato in place of the squash. I would roast the sweet potatoes whole until they feel very soft, scoop out the flesh (discard the skin), purée it, and measure out 2 cups. I don’t think you need to make any other changes. I have half a mind to do this as well … we are overloaded with sweet potatoes from our CSA.
Hi Ali, I made this pie a few years ago and it was delicious so going to make again. Is it ok to use whipping cream in place of the heavy cream? I thought I was done shopping and so don’t want to go again!
Thanks for your help. Happy soon to be Thanksgiving. Stay safe and healthy!
Timmie
Yes! Timmie, apologies for the delay here!! Whipping cream is great. Happy Thanksgiving! I’m making my filling for this today 🙂
The squash is baked and tomorrow I’ll finish it!
Yessssss… was it as good as ever?? Mine was heavenly 🙂
It was so amazing…..I made my own crust this time and I don’t ever do that because I always felt it would never turn out and it was astonishingly good….💫❤️💫
Yay! So great to hear this, Laurie. I think of you every time I make it … it’s one of my favorite holiday recipes!
I would love to make this for Thanksgiving, but have dairy free guests. Do you think I could replace the heavy cream with homemade cashew cream? Thanks!
I do!
It’s so funny to me that I make this every year and every year I tell you I’ve made it again!! Hubbie said we could go buy a pie and I was like Noooooooo!! I’m daydreaming about how amazing it will taste!! Hope you guys are doing great!! Lots of love! ❤️🤗🍁🥧🍁🤗❤️
This is my FAVORITE part of Thanksgiving. I cannot cannot cannot wait to make it again sooooo soon 🎉🎉🎉🎉🎉🎉🎉 Hope all is well with you, too 💕
Just outstanding! I never knew butternut squash could be this good. So much better than pumpkin, and now I have an alternate to sweet potato pie. I like the flavors and it’s not too sweet – just right. We served leftovers for breakfast.
I’m so happy to hear this, Deborah 🙂 🙂 🙂 This is one of my absolute favorites!!
Hi Ali –
a family member has a dairy allergy.
I have a nut crust that I can make instead, but what would you to suggest substitute for the 1 1/2 c heavy cream in the filling? 1 c of coconut cream (from chilled can) plus an extra egg or two?
Thanks!
Hi Marsha! I think the coconut cream is a great idea. I worry about adding more eggs only because I wouldn’t want it to taste too eggy, but are you concerned about having to buy many cans of coconut milk to yield 1.5 cups? Alternatively, you could make cashew cream, which is delicious: https://www.thefullhelping.com/purpose-cashew-cream-recipe/
Thanks so much for the cashew cream suggestion and the link. I just prepped ithe cashew cream and it looks perfect! I’ll let you know how the pie comes out.
We’re doing a”Reverse Thanksgiving” this year – desserts first (pumpkin pie & apple crisp as well as hard boiled eggs) for a quick bfast while we get our turkey, etc started. We are having an earlier dinner (1pm-ish) so that we can join another group of friends at 5 for appetizers. That way,we don’t have too late of a meal/evening for the little ones in our group.
Such a fun idea! I love this so much. Have a wonderful Thanksgiving. Enjoy your family (and the pies!) 🙂 🙂 🙂
I’m so excited to try this recipe! I thought I would get a head start by making the pie crust dough yesterday but it ended up an over processed doughy mess I believe due in part to my Ninja food processor. Maybe it is too high powered? I’ll be using the pastry cutter method tonight and hopefully that will work better. Any suggestions for how I can use the over processed dough?
Thank you for your wonderful recipes and videos! I’m definitely a visual learner and they are so helpful in giving me that extra confidence when trying a new recipe or method!
Hi Leigh! Bummer to hear about the over-processed dough. I hope the pastry cutter method works out well. A few thoughts: You can roll out the dough and make decorative shapes as described here: Pie Crust Cookies or you can make Cinnamon Snails.
Hope that helps!
I’m planning my Thanksgiving and thinking about this glorious pie and all of you. Hope this season finds you all well. ❤️💫❤️
Awww so nice to hear this, Laurie! Great to hear from you. Thanks for writing 🙂 xo
Hello! I am excited to make this for Friendsgiving on Saturday. One question about parbaking: I saw the note about putting a pizza stone on a rack in the lower third of the oven. When I go to parbake the pie crust (in the pie plate on a parchment-lined sheet pan), do you recommend putting the sheet pan on that pizza stone? Thank you!
I do! Good luck! It’s one of my favorites 🙂
Thank you!
Hi Ali,
Please help! I made this pie over the weekend as a trial run ahead of Thanksgiving. The crust came out perfect the butternut squash filling never set. I had to throw it all away. Does the recipe call for 2 or 3 cups of the squash puree? I see in the image you have 3 cups but in the recipe itself, you state 2 cups. I didn’t quite have 2 cups, so my cream-to-squash ratio was off. That may be why it was so runny and never firmed up. Do you think that is why it never set? Any other tips? Should I add cornstarch this next time?
I want to make it again on Wednesday, so I hope I hear from you!
A big fan of all your recipes. Thanks!
Kimberly
Hi Kimberly! Bummer to hear this. Yes, it’s 2 cups of purée that goes into the pie. Using less puree shouldn’t have caused the issue. The custard sets due to the cream + eggs — the typically ratio is 1 egg for every 1/2 milk/cream. I don’t know how to advise! How long do you think you baked it for? Was the crust getting too brown or do you think you could have left it in the oven longer?
The pie will continue to set as it cools, but it sounds as though this didn’t happen… did you let it cool completely before trying to cut into it? I’m so sorry to hear about the trouble with this one! Thank you for your kind words 🙂
I did let it bake and cool long enough. The culprit could have been that I messed up the order when making the filling — I realized the mistake too late! I poured the beaten eggs and cream right into the squash puree and then whisked it all together. I need to whisk the eggs and cream together first. I’m going to try that and let you know. 🙂
Thank you!
Kimberly
That might have done it! The egg-cream emulsion is important. My fingers are crossed for you. Happy Thanksgiving!