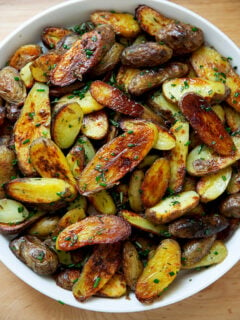
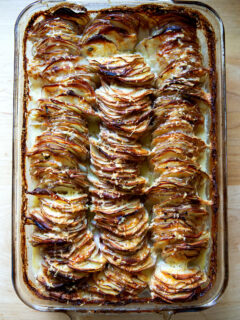
Potato Crispy Roasted Fingerling Potatoes Looking to make crispy potatoes for a crowd? Try this method: parboil the potatoes first; then slice and roast them at high heat with... Continue Reading Crispy Roasted Fingerling Potatoes»
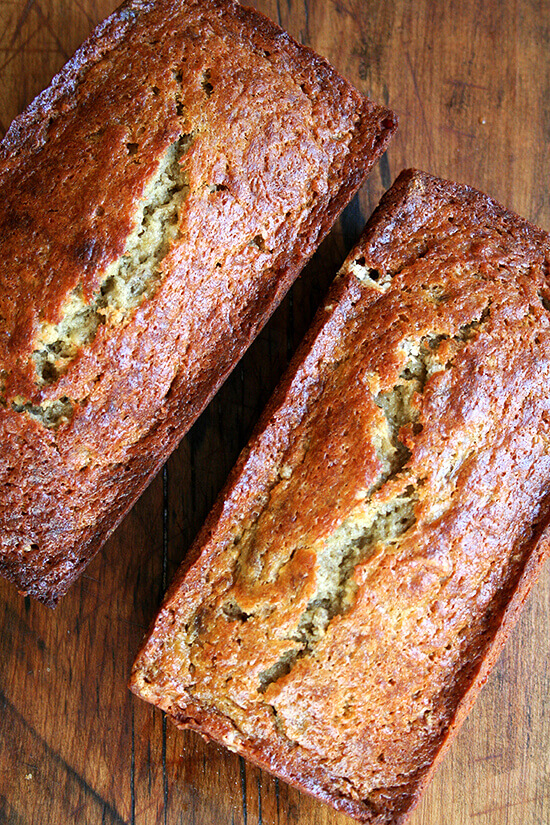
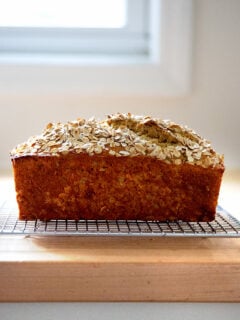
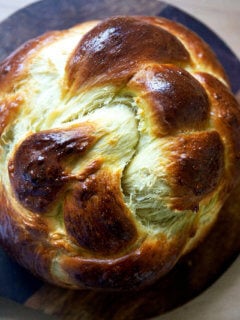
Quick Breads Simple Irish Brown Bread Made with whole wheat flour, wheat germ, and rolled oats, this simple Irish brown bread comes together in no time and yields a hearty,... Continue Reading Simple Irish Brown Bread»
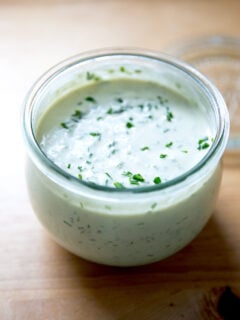
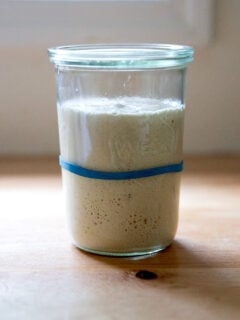
Sauces and Dressings Vegan Ranch Dressing (Cashew, No-Soak) Creamy and loaded with fresh onion and garlic flavor, this vegan ranch dressing tastes shockingly similar to the real thing. Made with raw but... Continue Reading Vegan Ranch Dressing (Cashew, No-Soak)»
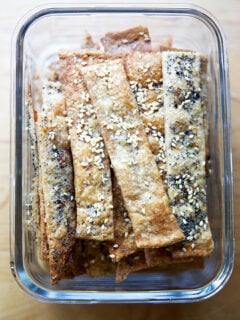
Pizza Thin and Crispy Gluten-Free Pizza Crust This gluten-free pizza crust is shockingly easy to make, producing a thin and crisp crust with a nice snap and chew that tastes like... Continue Reading Thin and Crispy Gluten-Free Pizza Crust»
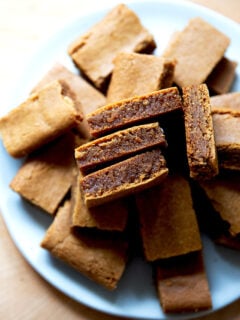
Cookies Ugly, Delicious (Perfect) Gingerbread Cookie Bars You need this recipe in your repertoire. Soft and chewy and flavored with all of the warm holiday spices we crave around the holidays,... Continue Reading Ugly, Delicious (Perfect) Gingerbread Cookie Bars»
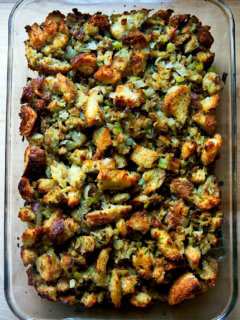
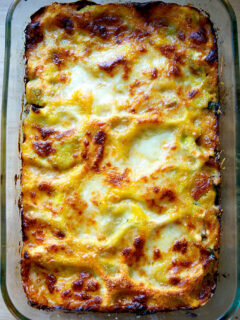
Christmas Christmas Menu 2023: Ham, Mustard Sauce, Potatoes, Yorkshire Pudding, Punch, Tiramisu & More Friends, it’s here! The season of cinnamon buns and snow scones, egg bakes and breakfast cake, shortbread and rum balls, ham and mustard sauce,... Continue Reading Christmas Menu 2023: Ham, Mustard Sauce, Potatoes, Yorkshire Pudding, Punch, Tiramisu & More»