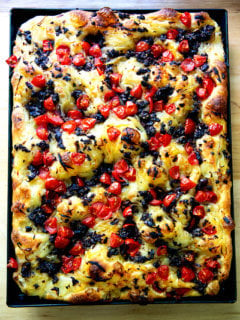
Pizza Night is Here 🍕🍕 → Get Your Copy
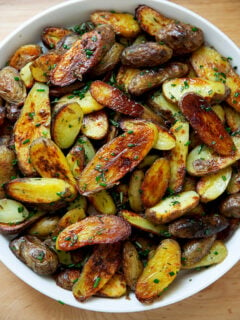
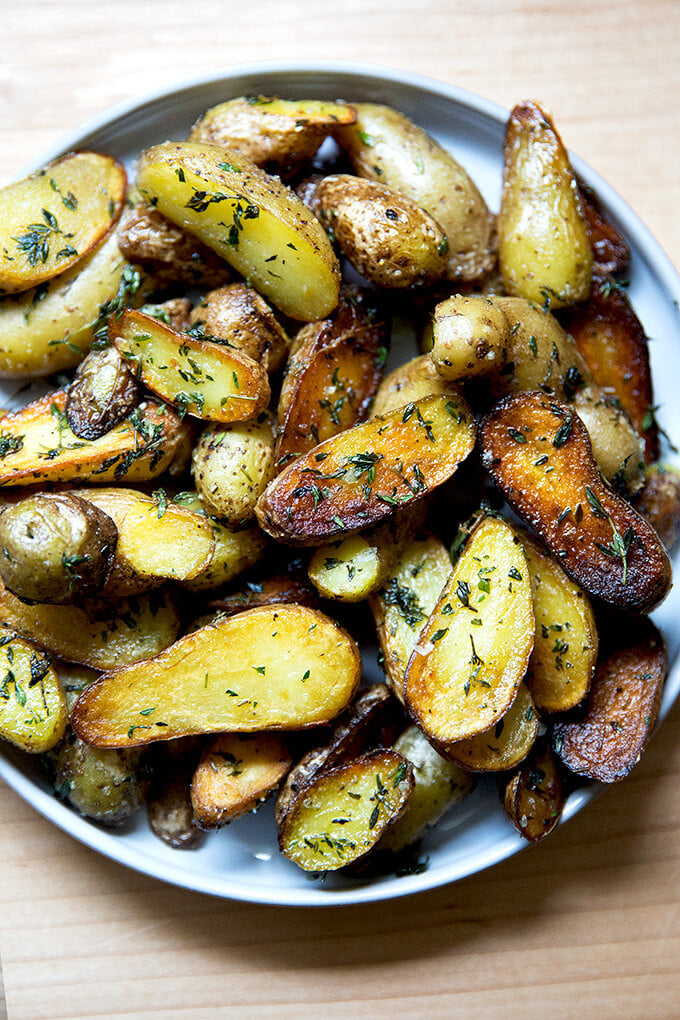
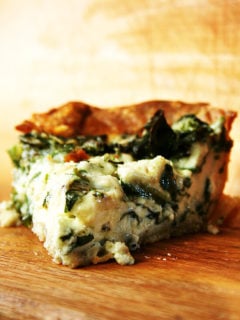
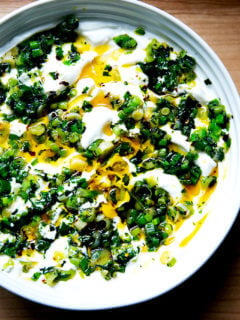
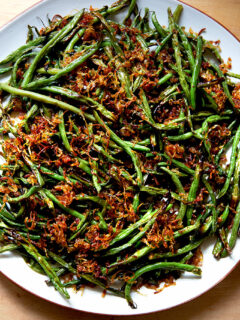
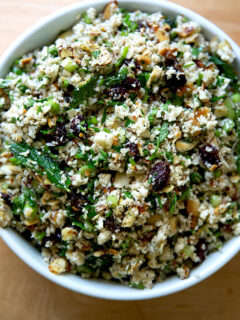
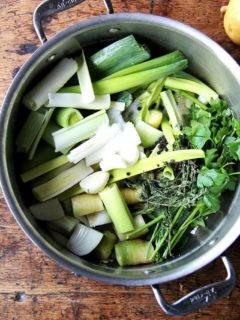
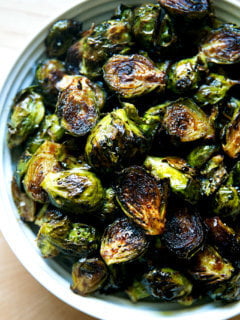
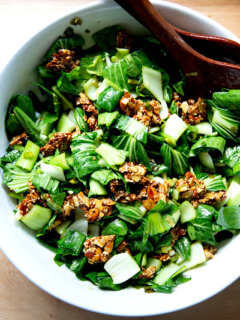
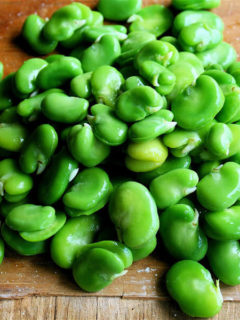
Beets, cabbage, corn, eggplant, potatoes, radishes, tomatoes — I love my vegetables, and more and more, I cook vegetarian recipes. Here are 12 Favorite Weeknight-ish Vegetarian Recipes. Explore the recipes below or narrow your search by clicking on the vegetable names in the box below.
Bread enthusiast. Vegetable lover. Omnivore.
More About Me »
Deliciously doable recipes for pizza and salad.
Order Yours Today »
Recipes for no-knead loaves and meals to savor every slice.
Buy now »
or browse the recipe index »
First time visiting? Start Here »
7 Secrets to Mastering Pizza at Home