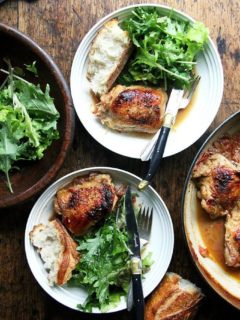
This one-pan chicken with sherry vinegar sauce emerges with beautifully golden and crisp skin, meat falling off the bone, a plentiful sauce pooling all...
Here’s a trick to add to your entertaining repertoire: Salami and Provolone Phyllo Rolls. They come from Tieghan Gerard’s Half Baked Harvest Cookbook. In...
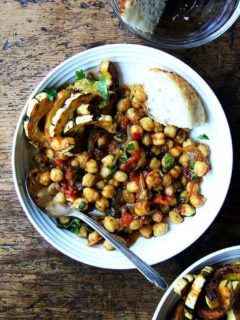
Tara Kitchen, a nearby Moroccan restaurant, makes the most delicious chickpea and eggplant tagine. I discovered it a few years ago, shortly after we...
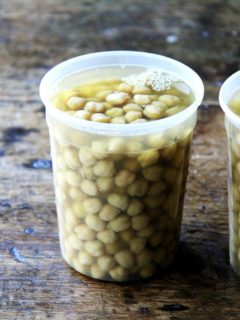
Canned beans are incredibly convenient, and I always have a few on hand. Nothing, however, beats the flavor and texture of cooked-from-scratch beans. Once...
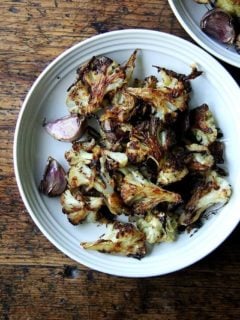
This is the cauliflower recipe I make on repeat all winter. The cauliflower emerges tender and golden, shrouded with near-burnt onions and salty crisp...
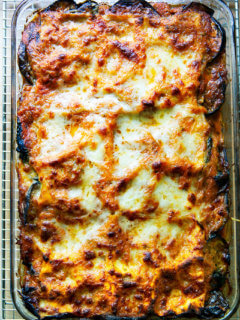
With layers of no-boil noodles, roasted eggplant rounds, sautéed Swiss chard, and a mix of parmesan and mozzarella, this eggplant lasagna is a summer...